


Most homesteaders raise goats for two main reasons – milk and goat cheese. Others raise goats for their meat while some are mainly into breeding. There are some who just want them as pets, which is quite understandable since they’re really cute while still young. The majority, however, are after their milk and its by-products.
Milking Goats
Before you make your glorious goat cheese, you need to gather some milk first. There are two ways to milk goats. One is through machines while the simpler but not necessarily easier method is by hand. Now before you throw teat jokes our way, read on to know how to milk goats so you can start making your own goat cheese from scratch.
Machine Milking
There are machines used to milk goats but the earlier models are a little on the clunky side. A bucket milking machine utilizes vacuum and air to collect milk. The machine creates vacuum to draw the milk from the goat’s teats. Air is the used to let the milk flow into the bucket.
Since you’re using a machine, you’ll do extra work cleaning it up after every use. You also need to keep it in tiptop shape. Also, you need to learn how to properly milk goats using such a machine. If you place the vacuum the wrong way, the goat may suffer from mastitis.

There are also portable milking machines, if you prefer not to lug the bulky bucket machine every time.
Hand-Milking
In the homestead, things are done as natural as possible. That means you have to milk your goats by hand. Hand-milking is the more environment-friendly method but it is also the more laborious.
The first step is to bring your goat to the milk stand. Once it’s in position in the stanchion, give it some grains to munch on so it will stay in place.

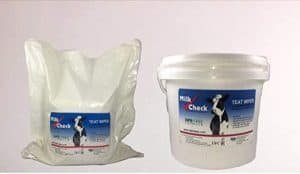
Wash your hands and then the goat’s udder and teats. Use warm water and soap in cleaning the goat parts. You can also use teat wipes and paper towel for cleaning and drying.
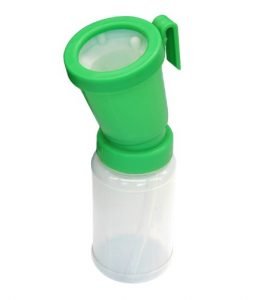
Make sure your hands are completely dry before touching the teats. Once you’re ready, place your thumb and fingers around one teat. This will trap the milk in it. Squeeze the teat to get one or two squirts of milk into a cup. This is not the actual milking. You just need to get rid of the milk near the tip of the teat, which may be contaminated with bacteria. Check the milk for any abnormalities and throw it away properly if there are.
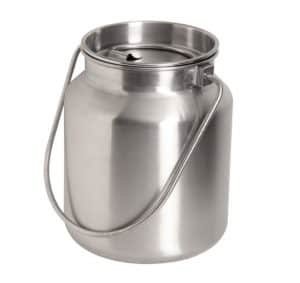
Place a sanitized bucket under the teats and start milking the goat immediately after. As you squeeze, be sure not to pull. Make it quick as well. The goat may start dancing around if you take too long milking it.
When there’s no more milk squirting out of the teats, check if it’s indeed empty. Massage the back and bottom of the udder then gently bump the front with your fist. This should let the last of the milk come out.
Once your done hand-milking your goat, pour the milk through a strainer and into a clean container, preferably a glass jar.
You’re not done with your goat yet. Clean the teats using a sanitizer. Afterwards, take your goat back to the others. Reward your hard-working goat with some fresh hay and water. Eating will also keep it from lying down and exposing its open teats to infection.

Clean the rest of the stuff you used to gather your goat milk immediately. Use warm water and soap to clean the strainer and bucket. Rinse them with boiling water. You can also use a mixture of one part bleach and ten parts water.
Making Goat Cheese
Now that you have your milk, it’s time to make your goat cheese. First, pour one quart of your goat milk into a saucepan or pot then place it over medium heat. A stainless steel pot is best. If you don’t have one, use any non-reactive pot or pan.
Stir the milk regularly to keep the heat even. Heat up your goat milk to 180 or 185 degrees Fahrenheit. Use a thermometer to check the heat of your milk.

Add one ounce of vinegar and the juice of two lemons into the milk. Make sure no seeds or pulp gets into your goat milk. Stir using a wooden or stainless steel spoon a few times to combine the ingredients. Let the milk mixture sit for around ten minutes. You’ll notice the surface getting thicker.
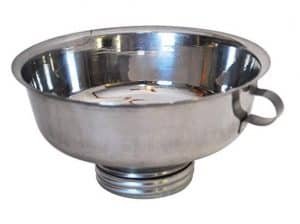
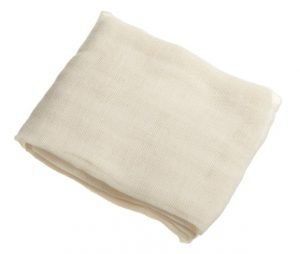
Place a layer or two of damp cheesecloth over a colander. Make sure the cheesecloth covers the sides of the colander. Remove the saucepan from the stove and gently pour the milk mixture through the cheesecloth and into the colander. Add half a teaspoon of salt to the milk mixture once it’s in the cheesecloth. Taste to see if it’s to your liking. Gradually add salt until you’re okay with the taste.
Grab the cheesecloth at the ends then remove it from the colander. Tie the ends together with a butcher’s twine. A rubber band will also do. You can do this over the sink or another pot so it won’t get too messy. Hang the tied cheesecloth on the faucet and over the sink. You can also tie it to your wooden spoon and place it on top of your pot or jar. Let the milk mixture drip out for at least one and a half hours.
The mixture should’ve solidified into your goat cheese at this point. Remove the cheesecloth from the faucet or from the spoon. Untie and open the bundled cheesecloth then transfer the goat cheese into a clean bowl. Add your preferred dried herbs such as thyme or rosemary to give more flavor to your goat cheese. You can also use add spices, garlic, honey or nuts to give your goat cheese different tastes and textures.
Shape your goat cheese using your clean hands or a cookie cutter. Wrap the goat cheese in wax paper then place it in the refrigerator. The goat cheese will be a little runny at first but after a while, it should become thick and spreadable. Your goat cheese should be ready to eat by now.
Goat cheese goes well with bread or as topping for you pizza. You can even add it to your meat dish. Goat cheese is pretty versatile yet easy to make that’s why it’s popular among homesteaders.
If you’re done with your goat cheese, wrap the leftover in wax paper. Always keep it in the refrigerator so it will stay fresh. Ideally, goat cheese stays fresh for a week but may last for two weeks. If a yellowish mold starts to develop, it’s time to throw your goat cheese away and make a new one.
Milking goats and making goat cheese are just a few of the skills you should learn, especially if you’re living on a homestead. Visit The Gentleman Pirate if you wish to know more about homesteading. You can also check out Homesteading for Preppers by Dan F. Sullivan.
Just a disclaimer – We have partnered with these companies because we use their products and/or proudly trust and endorse them – so we do receive a commission if you make a purchase or sign up for services.
Often, we are able to negotiate special discounts and/or bonuses, which we will pass on to you via our links. We often get short notice on sale items available for 24-48 hours as we will pass these savings onto you.