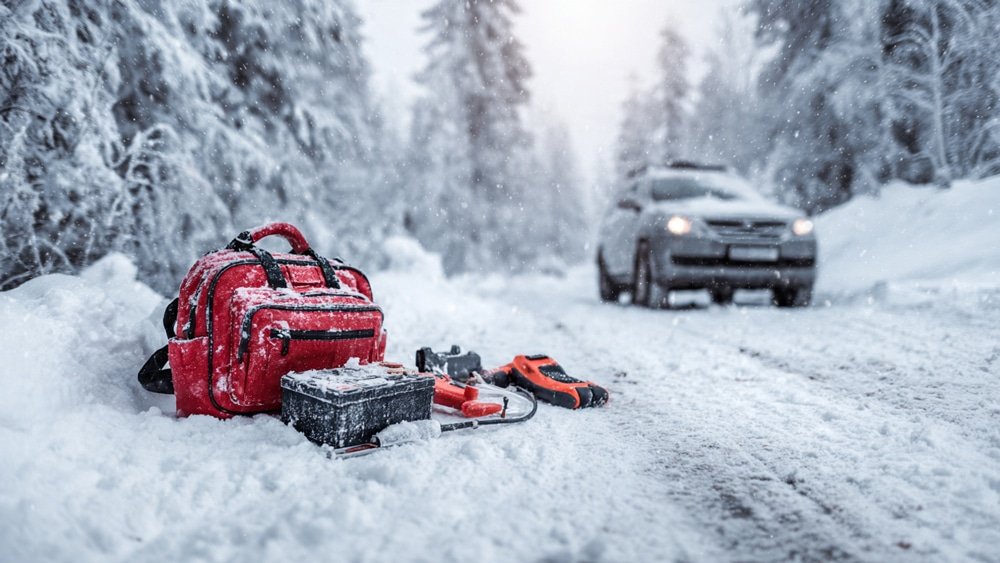
The days are just getting warmer though there’s still snow all around. It’s a good time for people, especially children, to go out and play in the snow. To homesteaders and other like-minded fellows, however, this is the perfect time to tap maple trees.
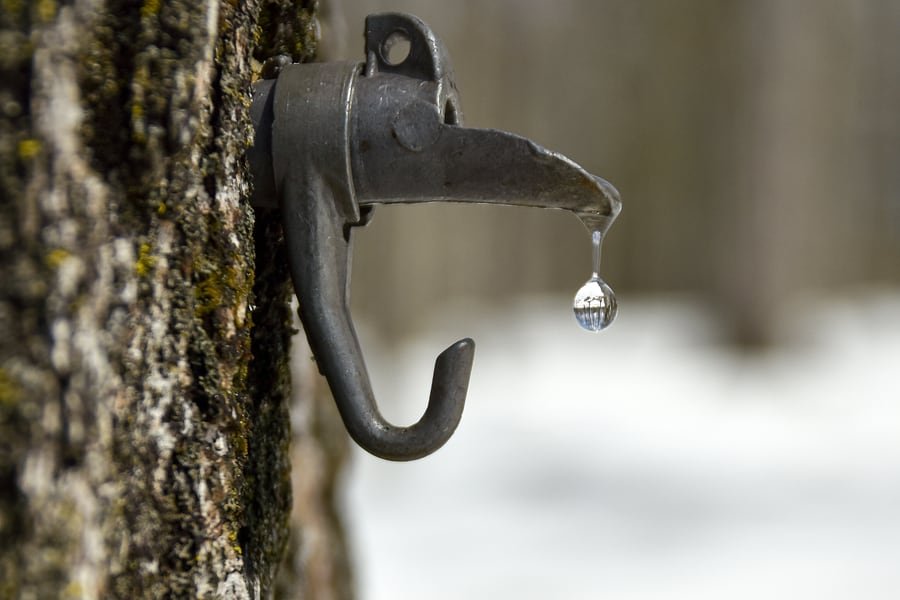
In a few weeks’ time, the sap in the maple trees will start to flow. In most places, the sap will begin its travels in the middle of February until mid-March, particularly when the temperature during the day rises above 32 degrees Fahrenheit and falls below freezing at night. If you’re not familiar with tapping maple trees, you’ll know it’s happening when you see faucet-like devices protruding from the trunks.
If you want your own supply of maple syrup, you should know where it comes from and how it’s made. The syrup is derived from the sap of the maple tree so the first step to starting your maple syrup empire is to learn how to tap maple trees.
How to Tap Maple Trees
The old method of procuring maple sap involved drilling holes and using wooden tubes and buckets. This is still widely practiced today by homesteaders. Big-time gatherers, however, use a more advanced technique that allows them to harvest more maple sap.
What You Need

To tap maple trees, you must first gather the necessary supplies. It’s pretty basic, really. All you need is a drill with the right bit, a hammer, a spile, and a bucket with lid.
Finding the Right Tree

Next, look for a tree to tap. Your best bet is the sugar maple since it has the most sugar content among other maple trees. If there’s no sugar maple near you, tap on Norway maple, silver maple, or even birch trees.

If you think a maple tree looks something like Groot, then you probably need some help identifying your trees. You can do your own research to identify if the tree you’re targeting is actually a maple tree. If you still can’t figure it out, ask for help from someone who knows or take a branch to your local nature center.
Start Tapping

We already mentioned when the perfect time to tap maple trees is. This time, we’ll learn about the procedure itself. First, find the drill bit that’s the same size or even a bit narrower than your spile. The spile, for those who are unaware, is a small wooden peg used for drawing off liquid. More modern versions are made of stainless steel. The widest part of most spiles measure from 5/16” to 7/16” which are around 8 millimeters to a little over 1 centimeter.
Choose a spot where you’ll be drilling your hole. This should be at chest height and on the south side of your maple tree, which is the sunny side (no, not the egg).

Grab your spile and measure and then mark on the drill bit how deep the hole should be. By doing so, you can perfect your hole in one go.
Position your drill with a slight downward angle. Start drilling until you reach the required depth for the spile to fit. Plug the spile into the hole then use a hammer to gently tap it into position. If you still don’t understand why the process is called tapping, just re-read the previous sentence.

If you time your tapping perfectly, maple sap will immediately start flowing through the spile. You should have your bucket near you so you can hang it on the spile right away. If you forgot your pail, holler for someone to get it while you place your mouth under the spile and enjoy some of that sweet glorious sap. Lastly, place the lid after hanging your bucket.
Harvesting

After all the drilling, tapping and hanging, all you need to do now is wait though you don’t have to wait that long. Visit all your buckets each day and collect the sap. Pour them into a container through a synthetic filter cone. A fine mesh towel will also do. This will help you get rid of contaminants. Because of the cold weather, ice may develop on the lids of your buckets. Get rid of the ice. Don’t let the ice fall or melt into your pail. The additional water will make it a bit harder to cook the maple sap.
Cooking

As much as you love the warmth of your kitchen during these cold days, cooking maple sap should be done outside. Get your fire started or your stove going. Cook your sap right after collecting them. This is the popular way to go. However, you can gather as much sap first before cooking them down in one go. Just make sure you don’t go beyond a week before cooking the collected sap. The sap gradually loses its freshness the longer it’s not cooked. You worked hard to tap maple trees, might as well do the cooking right.

Fill a large pot with the maple sap you collected. Cook it over fire or on a stove until the sap turns dark. It should also become sweeter. Once you reach this consistency, pour the syrup into a pan. Stir the syrup to keep the bottom from burning. Reduce the heat when you notice the sap getting darker.
Removing the Taps

There’s a small window to tap maple trees and collect as much sap as you can. This window lasts for only two to three weeks. It’s all over when it’s not that cold at night anymore. If you continue to tap maple trees, you will end up with not-so flavorful sap.
When it’s time to pack up, remove all your buckets and spiles. Clean them thoroughly before putting them in storage.
Check out The Gentleman Pirate for more DIY projects you can do at your homestead.

Just a disclaimer – We have partnered with these companies because we use their products and/or proudly trust and endorse them – so we do receive a commission if you make a purchase or sign up for services.
Often, we are able to negotiate special discounts and/or bonuses, which we will pass on to you via our links. We often get short notice on sale items available for 24-48 hours as we will pass these savings onto you.