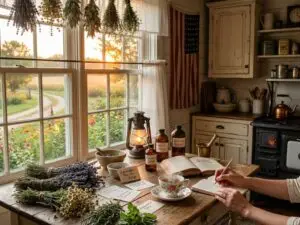


More and more people are going the natural route and using homemade soaps instead of buying their stash from the grocery. Interestingly, people back in the day used homemade soaps. The old folks made their own soaps using mostly natural ingredients. These natural soaps only lost ground when the wars came. Wartime affected the supply of animal fat, one of the main ingredients of DIY soap. This allowed synthetic soaps to capture the market. If you’re still using these commercial soaps, it’s time to rethink your life choices.
You use soaps and other similar hygiene products on your body, particularly on your skin. There are even special kinds of soap for your private parts. You’d think these soaps for your sensitive body parts are made of the safest ingredients there are but some of them still contain harmful substances such as perfume and bleach. These products leave residue on the skin that may prove harmful in the long run.
Avoid any issue with these synthetic soaps by going the safer and more natural path. These soaps are friendlier to your health, especially if you have sensitive skin. Commercial soaps are also bad for the environment. That’s at least one more reason to switch to homemade soaps.
The Truth About Lye
Home-made soap use mostly natural ingredients. One component which is not naturally derived is lye. People are torn about lye. There are some who believe it’s hazardous since it is a caustic chemical that’s known for burning skin, causing blindness, and even death. On the other hand, many soap makers still use lye because it’s practically harmless once it’s part of the soap.
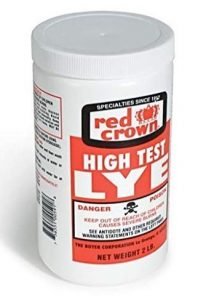
Extreme caution should be practiced when handling lye. That is something you shouldn’t take lightly. Make sure you have a bottle of vinegar nearby while handling lye. Use it to neutralize any lye that touches your skin. You should also work in a well-ventilated area.
Lye loses its deadly quality during saponification or the process in which acid and base chemically react to form salt. It’s the exact process that occurs during soap making. When oil or fat and lye react with each other, there is no lye left. In other words, homemade soap is safe.
Equipment and Ingredients
- Alkaline – lye, wood ash
- Soap base – goat’s milk, shea butter, glycerin, coconut oil, olive oil, or tallow
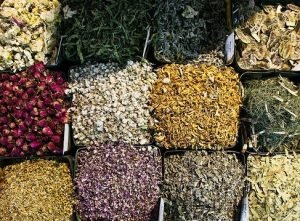
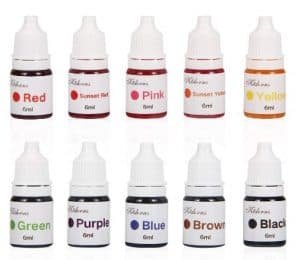
- Additives – essential oils, dried herbs, vegetable oils, natural colorants
- Microwave or gas stove
- Immersion blender
- Quick-read thermometer
- Kitchen scale
- Stainless steel mixing bowls
- Stainless measuring spoons
- Wooden ladle or stainless spoon
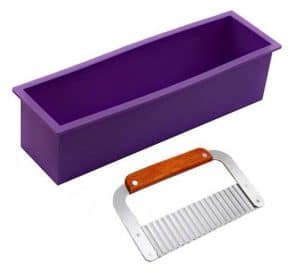
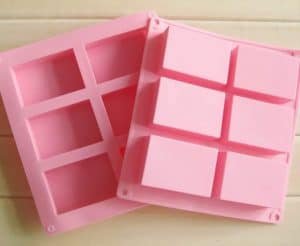
- Silicone molds or loaf pan
- Plastic wrap
- Old towel
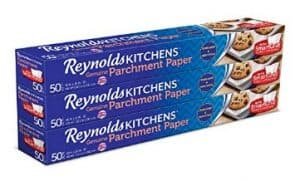
- Parchment paper or baking rack
- Protective Wear
- Old newspaper
How to Make Your Own Soap
Now that you have all the things you need for your soap-making adventure, your first step is to choose the essential oil or oils you’re using. Once the decision is made, prepare your workspace. Spread old newspaper pages where you will make your homemade soap. These will help lessen the hassle of cleaning up afterward. You should also wear your protective gear such as gloves.
In your mixing bowl, pour 3/4 cup of cool water. Slowly add 1/4 cup of lye. Stir with your spoon or ladle as you pour. Set aside as the water starts to clear.
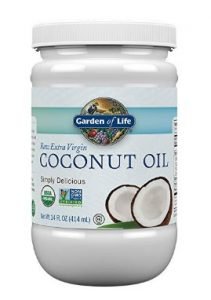
Mix 2/3 cup each of coconut oil, olive oil, and another liquid oil of your choice. You can use almond oil, sunflower oil, or another kind of oil. Place the jar in a microwave for one minute. You can also use a gas oven if you don’t have a microwave. Simply heat the jar in a pan or pot with water.
Use your thermometer to check the temperature of the oil mixture. Make sure they stay in the 120-degree Fahrenheit range. Take out of the heat and wait until it cools to somewhere between 95 to 105 degrees. Your lye should also be somewhere along this range.
You need both your lye and oil mixture to be at the right temperature so your homemade soap will have the right texture. Once ready, pour the oil mixture into a bowl. Add the lye slowly. Stir gently for about five minutes to mix them thoroughly.
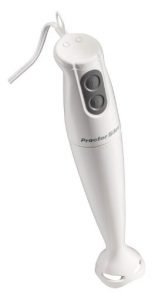
After five minutes of stirring and mixing with your hand, you can now use an immersion blender. If you don’t have one, just keep stirring with your hand. The mixture will eventually become thick. This is called “trace.”
You can now put your chosen additives into the trace. Mix them as much as possible by stirring continuously.
Once ready, pour the soap mixture into your mold or molds. A loaf pan will also do. Cover the molds or pan in plastic wrap then place them inside an old towel to keep the heat in. Set it aside as the mixture transforms into soap through the saponification process.
Check your DIY project after 24 hours. If the soap is still soft or warm, put the cover back and set it aside for 12 to 24 hours more. You want your soap to be firm and cold.
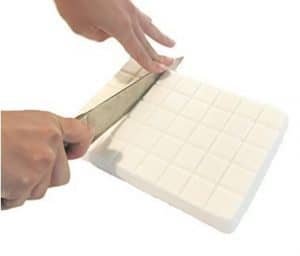
When you get the right consistency, turn the mold over above a piece of parchment paper. You can also do this over a baking rack. If you used a loaf pan, you can now cut it into smaller soap bars.
Let the soap cure for at least four weeks. If you’re not using a baking rack, you have to turn the soap over once a week.
After curing, wrap the soap in wax paper or place it in an airtight container. These will keep the soap-free from foreign materials such as dust.
Don’t forget to clean your equipment. Use white vinegar to neutralize the residual lye before washing them thoroughly with dishwashing soap and water.
Popular Home-Made Soap Recipes You Should Try Making
Now that you got the basic method of making your own soap, you can experiment with different combinations of herbs, essential oils, and other ingredients.
Aloe Vera Soap
When it comes to medicinal plants, aloe vera sits among the top of most useful and popular ones ever. It’s ideal for treating a number of ailments such as acne, sunburn, wounds, and aging skin. Since these conditions are related to the skin, it’s a no-brainer that you should turn aloe vera, particularly its gel, into a homemade soap.
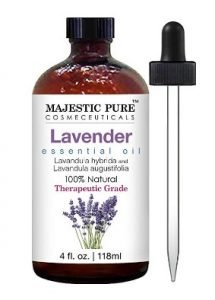
Lavender and Oatmeal Soap
Anything that is used to treat the skin is a candidate for your homemade soap recipes. Lavender and oatmeal should be on the top of your list. Lavender oil supposedly has anti-inflammatory and antiseptic qualities. This means it can be used for treating insect bites and other minor skin issues. Lavender is also known for its wonderful scent, which is great for treating stress, anxiety, insomnia, and depression. Using a homemade soap from lavender alone will do wonders for the restless and troubled mind.
The choice of oatmeal stems from its health benefits, as well. As food, oatmeal provides a number of nutrients including fiber. As a component for your homemade soap, however, oatmeal can moisturize, cleanse, and provide relief from skin irritation.
Tea Tree and Charcoal Soap
A facial soap made from tea tree oil and activated charcoal is a popular choice. Use this soap if you have oily skin. Its black look makes it a great and sexy gift for the holidays.
Visit The Gentleman Pirate and see more detailed posts on soap making. The one below talks about the many ingredients you can use for your DIY soap.

When you go to a spa, you will likely use handmade soap and other products. You can experience the soothing and glorious spa feel by making your own bath bombs, creams, and other homemade products. Once you perfect your homemade soap and spa products, you can now earn an income selling to these wellness centers. Check out The Handcrafter’s Companion to learn how to make your own spa products.
Just a disclaimer – We have partnered with these companies because we use their products and/or proudly trust and endorse them – so we do receive a commission if you make a purchase or sign up for services.
Often, we are able to negotiate special discounts and/or bonuses, which we will pass on to you via our links. We often get short notice on sale items available for 24-48 hours as we will pass these savings on to you.